
How to Remove Flowpoint Grout Haze Without Damaging the Paving
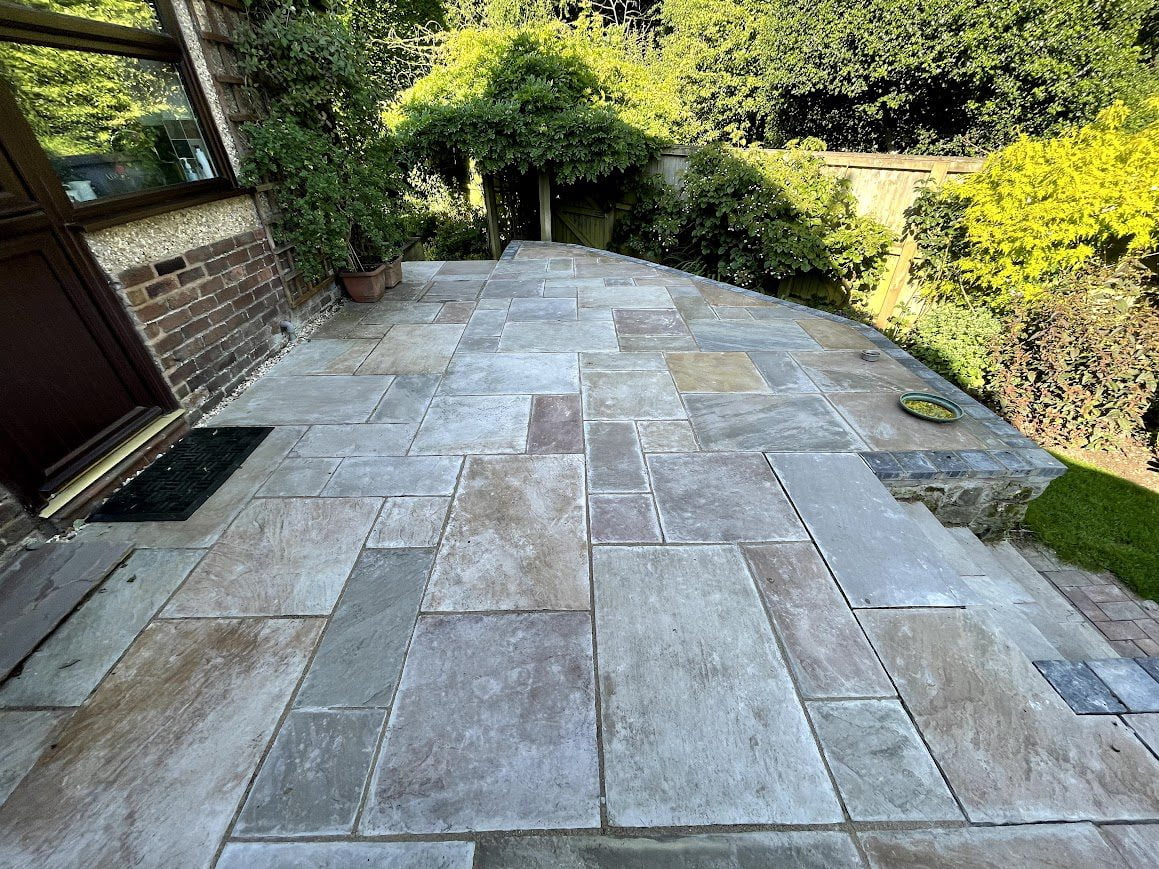
A cloudy film after pointing can make new porcelain or stone look older the moment the job is finished. The answer is not simply "use a stronger acid". First identify the paving, decide whether you are dealing with light grout haze or heavier cement residue, then use a compatible method and test a small area.
See the Problem and the Result Together
Before and after evidence should never make you hunt around the page. The examples below keep the relevant stages together so you can judge the change in context.


See the Visible Problem Before the Chemistry
The first image shows the visible post installation film. The second shows a controlled treatment in progress. The finished before-and-after evidence appears immediately below in the diagnosis section, so each stage stays close to the problem it explains.
Once the Haze Is Gone, the Paving Should Look Like Paving Again
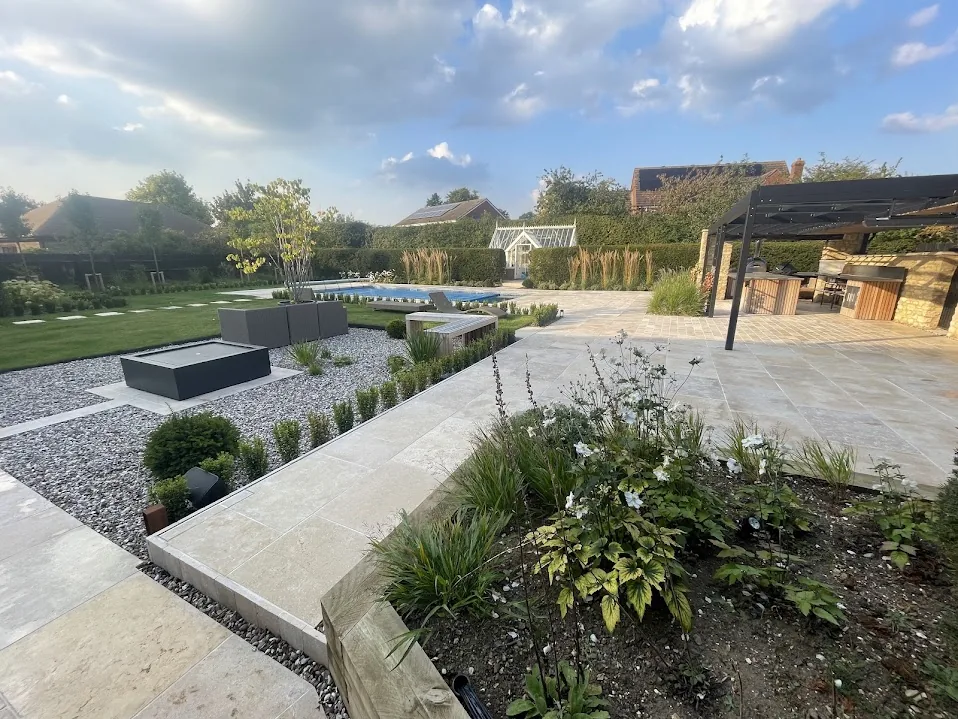
These finished projects are not being used as proof of Flowpoint haze removal. They are here to show the visual standard people are trying to recover: clean colour, visible texture and a surface that looks intentional rather than dusty or clouded.


For compatible porcelain and other acid-resistant paving: a purpose-made grout haze remover can be used after testing, with controlled dwell time, agitation and a thorough rinse. For acid-sensitive calcium stone such as limestone, marble and travertine: do not use an acidic cement remover. Use a compatible non-acid method or obtain specialist advice. Sandstone varies, so follow the cleaner label and test first rather than assuming every sandstone is suitable.
Is It Grout Haze, Cement Residue or Something Else?
A new patio can look uniformly dusty, streaked or pale for several reasons. Identifying the problem first prevents unnecessary chemical strength and reduces the risk of damaging a new installation.
Pale streaks.
Cement smear. A new patio can look dusty or washed out even though the paving itself is sound.
Flowpoint Grout Haze
A thin cementitious film or smear left on the paving face after jointing and wash-down. This is the main problem HR Haze Remover is intended to address on compatible surfaces.
 BEFORE AND AFTER
Set Cement or Efflorescence
Heavier bonded residue or white mineral deposits may need a different, stronger compatible treatment. The before-and-after evidence is kept directly with the problem so the change can be judged without searching elsewhere on the page.
Dust, Sealer Failure or General Dirt
If the surface does not match the usual haze pattern, identify the contamination before increasing chemical strength. A stronger cleaner is not automatically the correct cleaner.
HR Haze Remover or Efflorescence and Cement Remover?
The lighter haze-removal route and the heavier cement-residue route solve related but different levels of contamination.

HR Haze Remover
For grout haze, cement film and lighter post installation residue on compatible acid-resistant surfaces such as porcelain. Read the label and test first.
View current sizes, price and instructions
HR Efflorescence and Cement Remover
For heavier cement contamination, mineral deposits and efflorescence where the surface is confirmed compatible with the stronger treatment.
View the heavier residue remover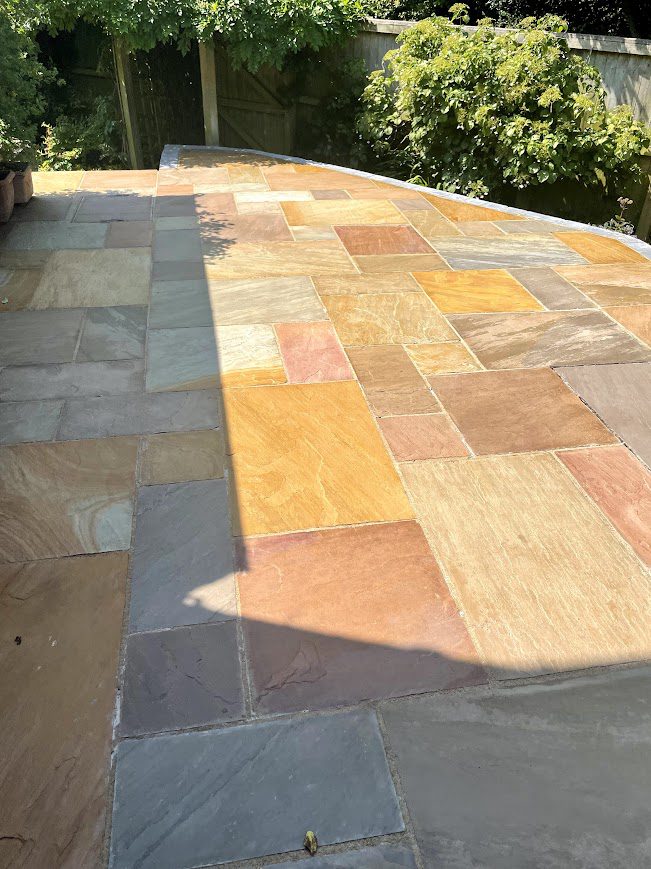
Clean and Protect Only When Appropriate
Do not seal over grout haze, cement residue, moisture or unresolved contamination. Finish the cleaning first, allow the surface to dry and only then consider compatible protection.
Open natural stone sealer guidanceWhich Flowpoint Haze Method Is Appropriate?
The safest guide is based on material compatibility, not one universal cleaner.
Porcelain and Ceramic
Dense porcelain is a common post-installation haze-removal surface. Use a compatible purpose-made remover, test first, control contact time and rinse thoroughly.
- Start with the lighter suitable product
- Do not allow the cleaner to dry on the surface
- Use a non-scratching pad or appropriate brush
- Inspect after rinsing before repeating
Sandstone and Granite
These materials should not be treated as one universal category. Check the specific product label and carry out a hidden test before using a cement or haze remover.
- Confirm the paving is compatible with the cleaner
- Account for surface texture and porosity
- Work wet and in controlled sections
- Stop if the test changes colour or finish unexpectedly
Limestone, Marble and Travertine
These calcium-based stones can be etched by acidic cement removers. Do not treat them like porcelain simply because the visible mark looks similar.
- Avoid acidic haze and cement removers
- Use a compatible non-acid cleaning route
- Mechanical refinement may be required for bonded damage
- Ask for specialist advice when the finish is polished or honed
Not Sure What the Paving Is?
Do not start with the strongest chemical. Photograph the paving, grout and residue and ask for help identifying the likely surface and contamination.
Send Hardfloor Restoration a questionHow to Remove Flowpoint Grout Haze From Compatible Paving
The exact dilution and dwell time come from the product label. The sequence below is the professional logic that keeps the process controlled.
Identify the Paving
Confirm whether the surface is porcelain, ceramic, sandstone, granite or an acid-sensitive calcium stone before choosing a remover.
Test a Hidden Area
Check compatibility, colour and finish on a small inconspicuous section before treating the complete patio.
Pre-Wet Where Required
Follow the cleaner instructions. For compatible acid-resistant surfaces, controlled pre-wetting can help manage the treatment.
Apply in Sections
Spread the product evenly, work manageable areas and never allow the active cleaning solution to dry on the paving.
Agitate Gently
Use a compatible white pad, sponge or brush. Avoid aggressive abrasives that may alter textured or finished paving.
Rinse and Reassess
Flush thoroughly with clean water. Allow the surface to dry enough to judge the result before deciding whether another controlled pass is needed.
How to Reduce Flowpoint Haze During Installation
Flowpoint is a rapid-setting flowable paving grout. The installation clean-down matters because residue left on the paving face becomes harder to correct once it has set.
- Follow the Flowpoint installation instructions.
Do not improvise the wash-down sequence or timings. - Keep the paving prepared and wet as specified.
Correct preparation reduces the chance of grout fines bonding to the face. - Remove excess material during the correct window.
Do not leave visible slurry or cement film sitting on the paving. - Inspect before leaving the job.
Once the surface begins drying, pale film and missed sections can become easier to see.
If the Paving Is Expensive, Polished or Uncertain, Do Not Learn by Damaging It.
Specialist advice becomes more valuable when the surface is acid-sensitive, the residue is heavily cured, previous chemicals have changed the finish, or you are not certain which material has been installed.
Answers to the Questions People Ask After Pointing a Patio
What is Flowpoint grout haze?
It is the pale or cloudy cementitious residue that can remain on the paving face after jointing and wash-down. The exact appearance depends on the tile or stone, texture and amount of residue left behind.
What removes Flowpoint haze from porcelain?
A purpose-made compatible grout haze remover such as HR Haze Remover is the relevant starting point for ordinary Flowpoint film on porcelain. Test first, follow the product label, control dwell time and rinse completely.
What if the cement residue is very heavy?
Heavier cured cement or mineral deposits may require a stronger compatible product such as HR Efflorescence and Cement Remover. Do not increase chemical strength until the paving compatibility has been confirmed.
Can I use grout haze remover on sandstone?
Do not assume every sandstone will respond identically. Check the cleaner label for sandstone compatibility and test a small hidden area before treating the complete patio.
Can I use an acidic cement remover on limestone, marble or travertine?
No. These calcium-based stones are acid-sensitive and can be etched. Use a compatible non-acid route or obtain specialist advice.
Will HR Haze Remover still work several days after the Flowpoint was applied?
Cured residue can still be treatable, but the required method depends on how heavily the surface is contaminated and how long the material has been left. Test a small area and judge the response before treating the full patio.
Should I let grout haze remover dry on the paving?
No. Work in manageable sections and rinse according to the product instructions before the active cleaner dries on the surface.
Can I seal the patio after removing the haze?
Only after all haze, cement residue and cleaning chemical have been thoroughly removed and the paving is fully dry. Sealing suitability then depends on the material and the protection required.
How do I prevent Flowpoint haze next time?
Follow the Flowpoint manufacturer instructions carefully, keep the paving prepared as specified and make sure excess grout is removed from the paving face during the correct clean-down window.
Go Directly to the Next Page That Matches Your Surface or Problem
The Best Grout Haze Remover Is the One That Is Compatible With the Paving in Front of You.
Start with the surface, identify the residue, test the method and only increase the treatment strength when the material and product instructions support it.
Use cleaning chemicals safely. Always read the product label and safety information before use. Wear the recommended personal protective equipment, protect adjoining materials, test a small hidden area and never mix cleaning chemicals.
Will the solution still work 5-7 days after the grout as been done
Hi, thanks for your question — great to see you’re doing your research before diving in!
Yes, our HR Haze Remover will still work 5–7 days after the grout has been applied. In fact, that’s often the ideal window — the grout will have had time to firm up and cure slightly, but any haze or residue will still be accessible on the surface.
A few tips to get the best results:
Use the product at the recommended dilution rate (usually 5:1 for normal use or 15:1 for sensitive stone, stronger for denser surfaces).
Work in small sections and keep the surface wet — don’t let the product dry out while it’s active.
Allow around 5–10 minutes dwell time, agitating occasionally with a soft brush or pad.
Rinse thoroughly, and repeat if needed for heavier residues.
And if you’re unsure about how your surface will react, always test a small inconspicuous area first — or feel free to get in touch for personalised advice. We’re always happy to help.
Thanks again for stopping by and trusting us with your project!
Hardfloor Restoration | Treat Seal Ltd